This article was co-authored with generative AI. Facts have been checked against public documentation where feasible, but errors may remain. Please verify primary sources before relying on this for important decisions.
Overview
This article summarizes the procedure for building Omeka S in a local environment (macOS) using ddev. ddev is a Docker-based development environment tool. Since it assembles the PHP version, web server, database, and HTTPS certificate in a few commands, it is well suited for local verification of applications like Omeka S that assume an Apache + PHP + MySQL-family stack.
Along the way, I install the IIIF Server / Image Server modules, which support IIIF (International Image Interoperability Framework), serve manifests, and confirm that they load from the Curation Viewer of the IIIF Curation Platform (ICP).
The configuration after building is as follows.
| Item | Content |
|---|---|
| Omeka S | 4.2.1 |
| Web server | Apache (apache-fpm) |
| PHP | 8.3 |
| DB | MariaDB 11.8 (ddev default) |
| URL | https://omekas.ddev.site |
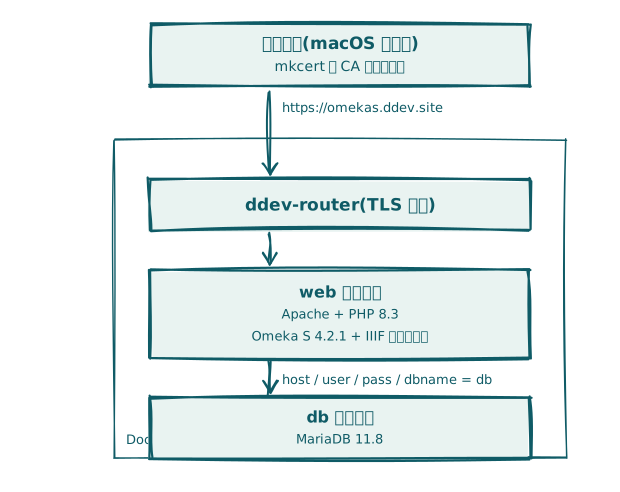
The container layout ddev prepares and the position of Omeka S are as follows. The router terminates TLS, the web container (Apache + PHP) hosts the Omeka S core, and the DB is split into a separate container.
Prerequisites
- macOS (Apple Silicon / Intel, either is fine)
- A Docker environment such as Docker Desktop is running
- Homebrew is installed
Installing ddev
brew install ddev/ddev/ddev
mkcert is installed together as a dependency. mkcert is a tool that issues local TLS certificates, which lets you access https://xxx.ddev.site without browser warnings.
If the CA (certificate authority) is not yet registered, run the following once (you will be asked for your password to register it in the keychain).
mkcert -install
Downloading and Extracting Omeka S
Create a project directory, fetch the latest version from the Omeka S releases page, and extract it. At the time of writing, 4.2.1 was the latest.
mkdir -p ~/git/omeka-s
cd ~/git/omeka-s
curl -sL -o omeka-s.zip https://github.com/omeka/omeka-s/releases/download/v4.2.1/omeka-s-4.2.1.zip
unzip -q omeka-s.zip
ditto omeka-s . && rm -rf omeka-s omeka-s.zip
After extraction, it is fine if index.php / application/ / config/ / modules/ and so on are lined up directly under the directory.
Configuring the ddev Project
Since Omeka S assumes rewrites via .htaccess, specify apache-fpm as the web server rather than nginx (the ddev default). The docroot is directly under the package (.).
cd ~/git/omeka-s
ddev config --project-name=omekas --project-type=php --webserver-type=apache-fpm --php-version=8.3 --docroot=.
Database Connection Settings
ddev prepares the DB container automatically, and the connection details — hostname, user, password, and DB name — are all fixed to db. Write these into Omeka S's config/database.ini.
user     = "db"
password = "db"
dbname   = "db"
host     = "db"
Starting
ddev start -y
The first time takes a few minutes because Docker images are pulled. On success, you see the following.
Successfully started omekas
Your project can be reached at https://omekas.ddev.site
The first
ddev startmay show an interactive prompt asking whether to send usage statistics. When run through a script or over a pipe, it can appear to stall while waiting for input, so it is safe to add-yor disable it in advance with the following.ddev config global --instrumentation-opt-in=false
Installing Omeka S
Opening https://omekas.ddev.site in a browser redirects to /install and shows the initial setup screen. Enter the following and submit.
- The first user's Email / display name / password
- The installation title
- Timezone (Asia/Tokyo) and locale (ja)
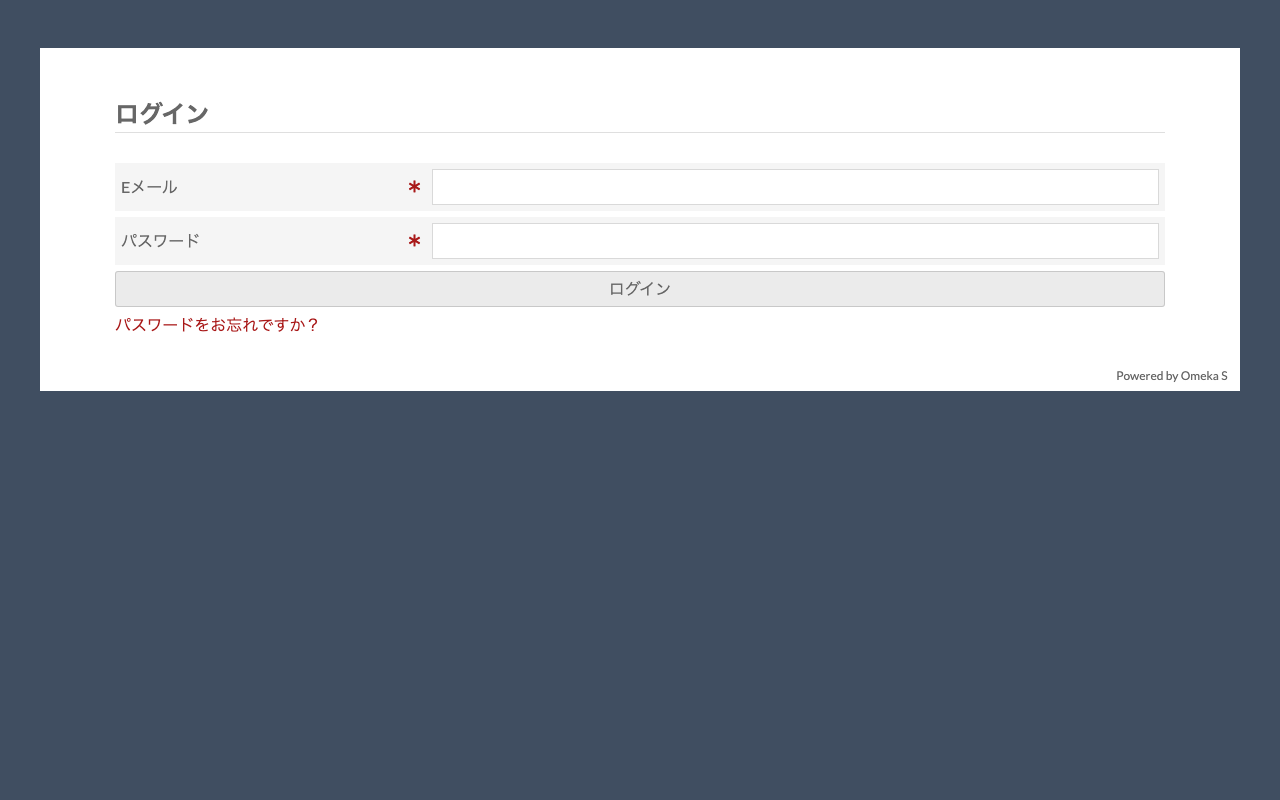
When done, it transitions to /login, and you can log in with the account you created.
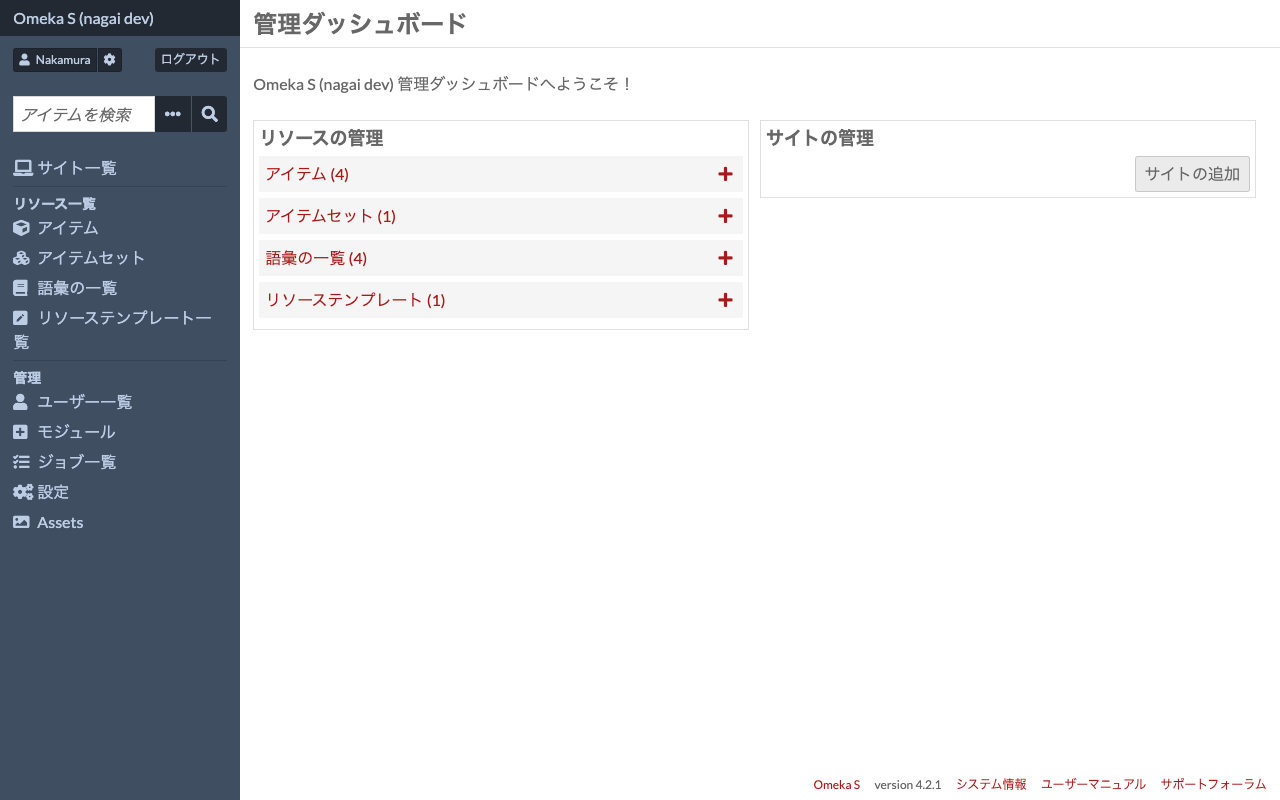
The admin screen after login (https://omekas.ddev.site/admin) is as follows. If you chose ja as the locale, it is displayed in Japanese.
Creating a Site
In Omeka S, registered items are published to the public under a unit called a "site." Since no site exists right after installation, create one from the admin screen's "Sites" → "Add new site" by setting a title and a slug (part of the URL). By default, items belong to no site, so assign them to the site you want to publish from the "Sites" tab of the item edit screen (or via batch edit for multiple items).
If you set the site slug to main, the public side is at the following URL.
https://omekas.ddev.site/s/main/
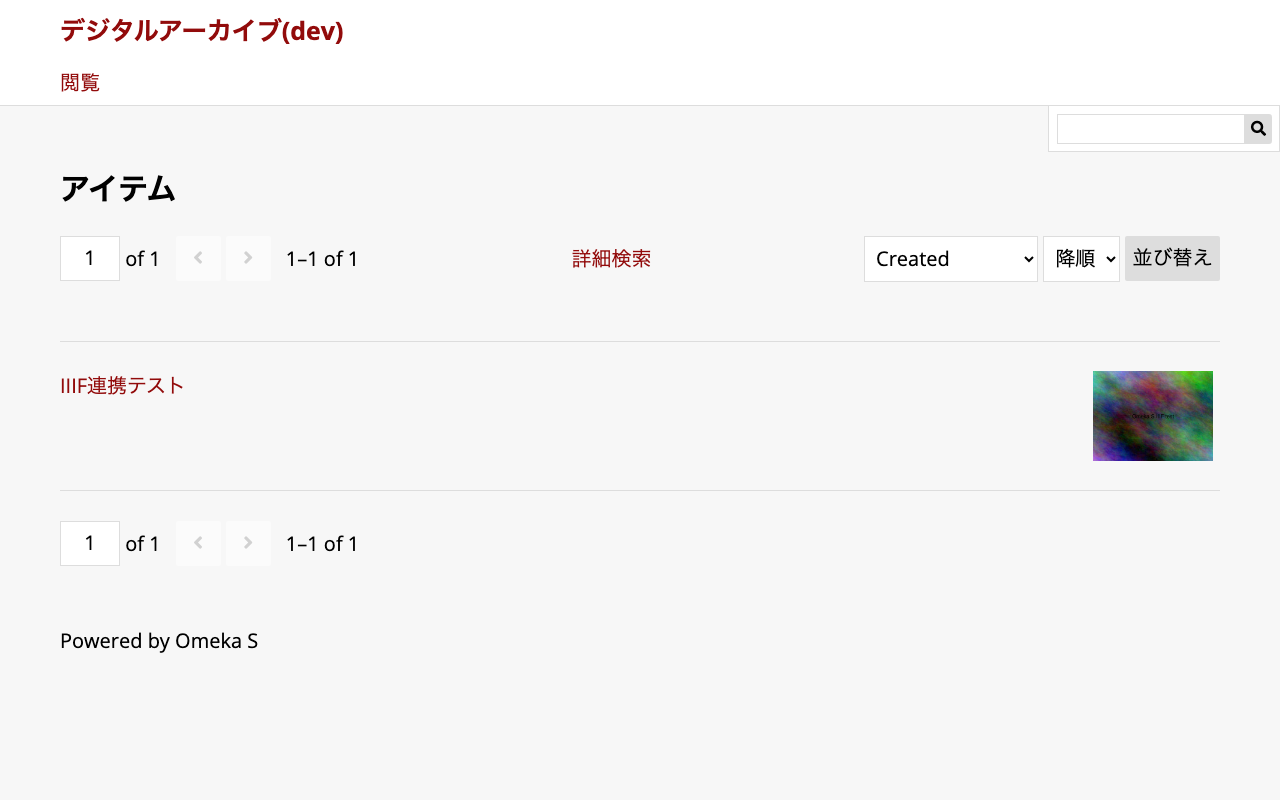
The item list (/s/main/item) is displayed as follows.
On an item's detail page, the uploaded image and metadata are shown.
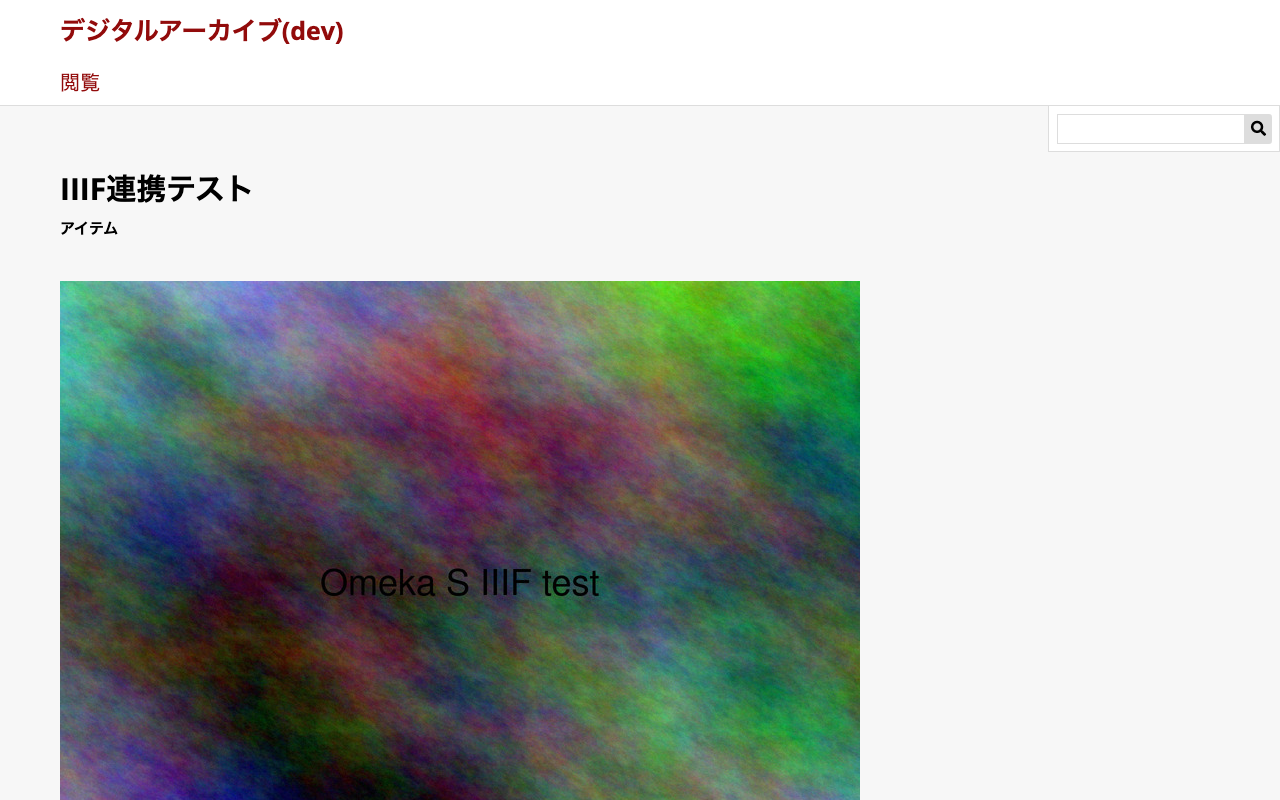
Note that creating sites and assigning items can also be done from the REST API (a site is POST /api/sites, and assignment is updating the item's o:site property).
Installing the IIIF Modules
For IIIF manifest delivery (Presentation API) and image delivery (Image API), install the following three modules by Daniel Berthereau. Since IIIF Server depends on Common, install the three as a set. The versions are as of the time of writing.
cd ~/git/omeka-s/modules
curl -sL -O https://github.com/Daniel-KM/Omeka-S-module-Common/releases/download/3.4.87/Common-3.4.87.zip
curl -sL -O https://github.com/Daniel-KM/Omeka-S-module-IiifServer/releases/download/3.6.32/IiifServer-3.6.32.zip
curl -sL -O https://github.com/Daniel-KM/Omeka-S-module-ImageServer/releases/download/3.6.25/ImageServer-3.6.25.zip
for z in *.zip; do unzip -qo "$z" && rm "$z"; done
Open the admin "Modules" page (https://omekas.ddev.site/admin/module) and click "Install" in the order Common → IIIF Server → Image Server. After installation, it looks like the following.
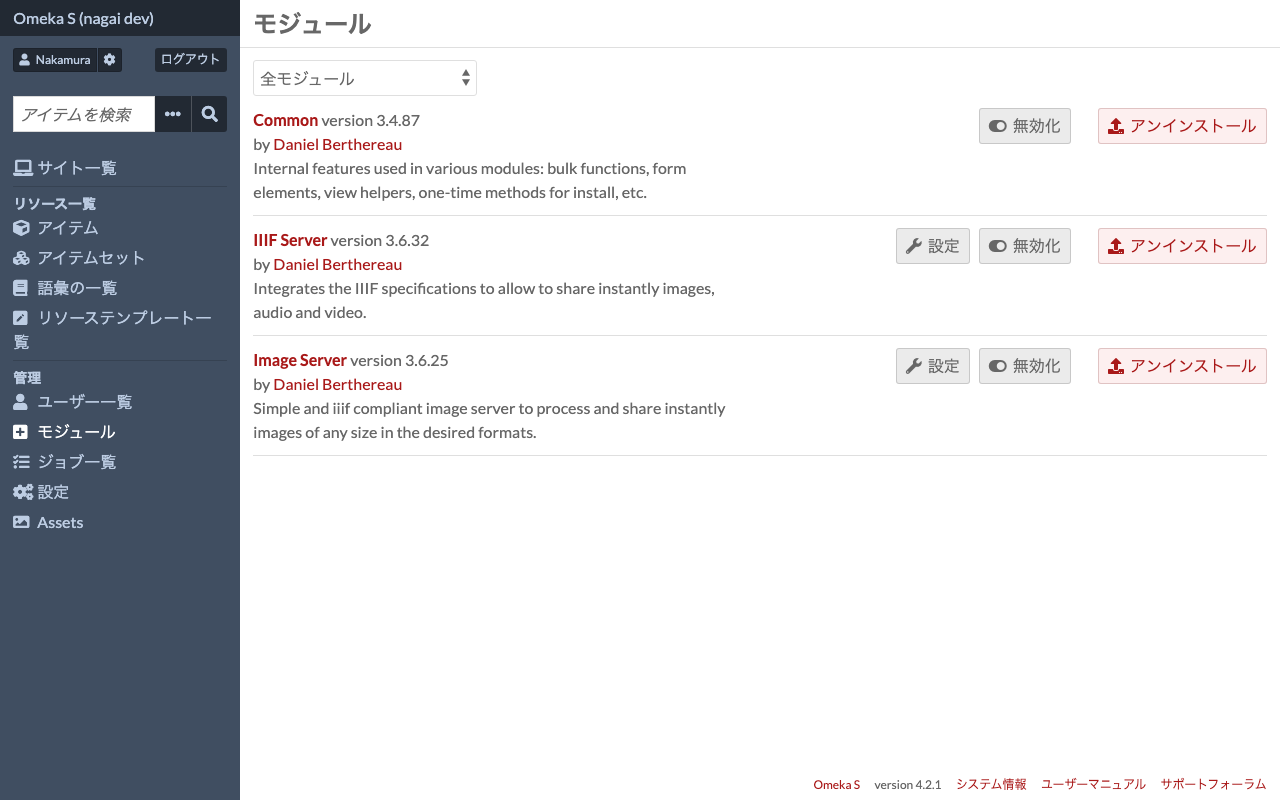
Note that the image-processing libraries used by Image Server (GD / Imagick / ImageMagick) are already included in ddev's web image, so no additional setup was needed.
Verifying Operation
Register one item with an image (here the item ID is 1).
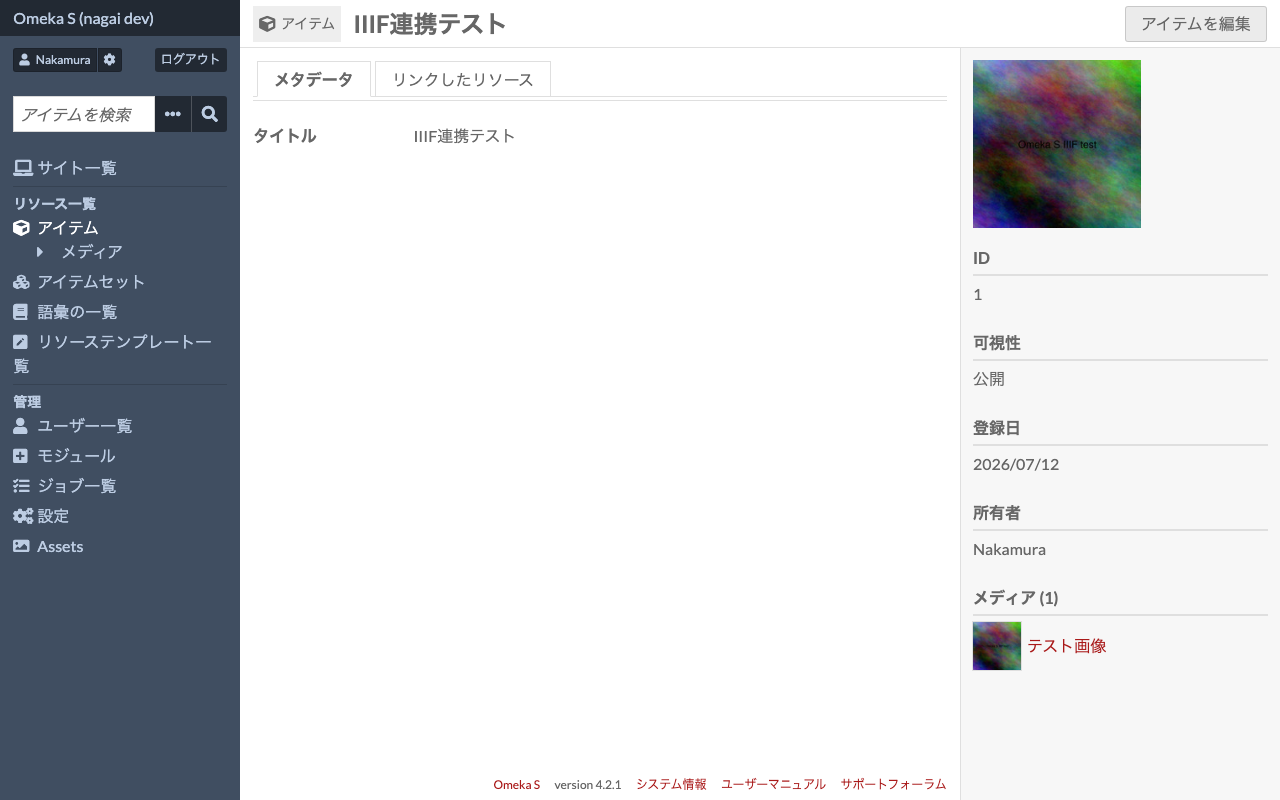
The following URLs then become available.
| Content | URL |
|---|---|
| Manifest (Presentation API v2) | https://omekas.ddev.site/iiif/2/1/manifest |
| Manifest (Presentation API v3) | https://omekas.ddev.site/iiif/3/1/manifest |
| Image info.json (Image API level2) | https://omekas.ddev.site/iiif/2/{mediaId}/info.json |
Inspecting the headers with curl confirms that the CORS (cross-origin resource sharing) headers required for loading from an external viewer are present by default.
curl -skI https://omekas.ddev.site/iiif/2/1/manifest | grep -i access-control
access-control-allow-origin: *
Loading from IIIF Curation Platform
If you are running ICP on local Docker (e.g., the official iiif-curation-platform-docker), you can integrate simply by passing the Omeka S manifest URL to the Curation Viewer. The data flow is as follows.
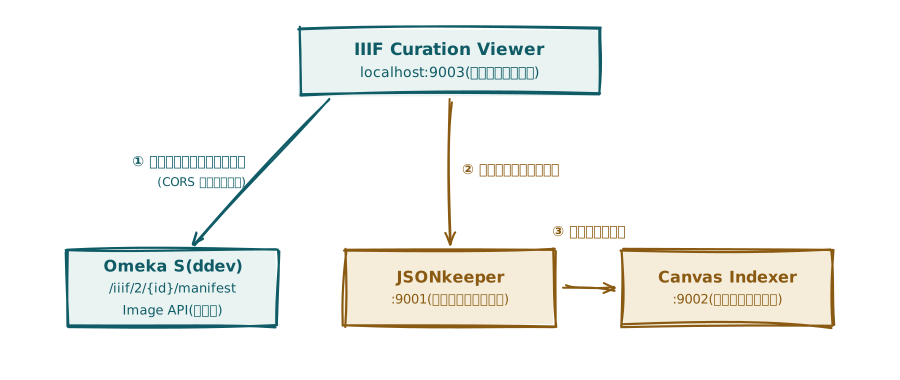 The following is the URL for the default configuration (Viewer on port 9003).
http://localhost:9003/viewer/?manifest=https://omekas.ddev.site/iiif/2/1/manifest
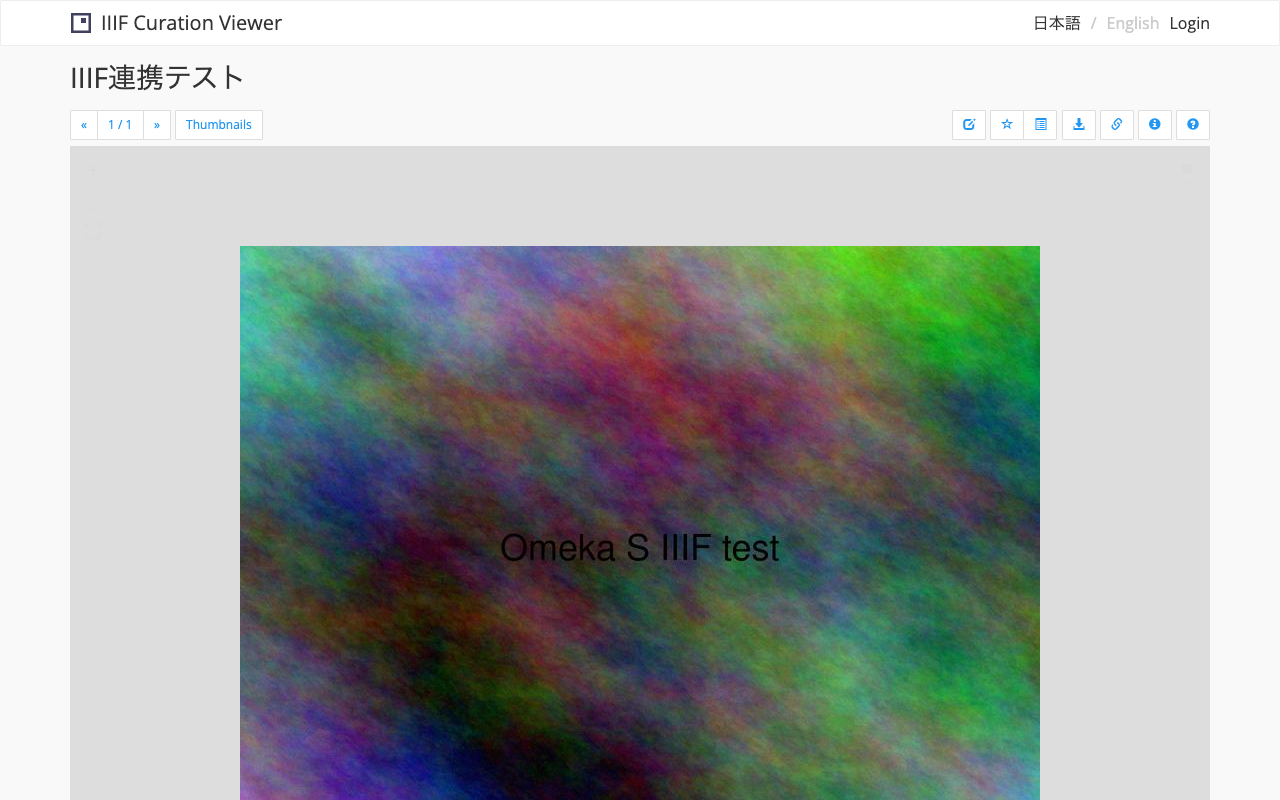
A few notes.
- The Viewer is an HTTP page, but loading HTTPS resources is not mixed content and so is not blocked
- Since fetching the manifest happens on the browser side, a local URL like
*.ddev.sitecan be read as long as it is the browser on the same machine (assuming mkcert's CA is trusted) - ICP seems to have many places that assume Presentation API v2, so it is safer to pass the
/iiif/2/...variant
If you select a range on the Viewer and create a curation, it is saved to JSONkeeper and becomes searchable by Canvas Indexer.
Everyday Operations
ddev stop          # stop
ddev start         # resume
ddev describe      # check URL, ports, etc.
ddev exec <cmd>    # run a command inside the web container
ddev ssh           # enter the web container
ddev delete -Oy    # delete the project (the DB is also removed)
Common Pitfalls
- If
ddev startbecomes unresponsive, it may be waiting on the aforementioned interactive prompt. Re-run with-y - If a browser warning appears over HTTPS,
mkcert -installhas not been run - If REST API writes return 403, it is because session cookies do not grant API write permission. Issue a key from the "API keys" tab of the user edit page in the admin screen, and make the request with
?key_identity=...&key_credential=... - If displaying large images is slow, running the Image Server's tile-generation job (which can be batch-run from the admin screen) improves it

Comments
…